Watching “How to Contour” video tutorials can have a completely different effect on your mood than actually learning how to execute the look on yourself. (One is ASMR, while the other can be… less soothing.) Figuring out which products to use and where on your face to sweep them isn’t always obvious (who else has ended up with a muddy chin-strap in their first attempt at a sculpted look?), which is why we decided to call up a pro.
Ash K. Holm is the mastermind behind the chiseled, fresh-faced looks of Shay Mitchell, Camilla Cabello, and—the contour-fluencer herself—Kim Kardashian. She detailed her tips for an everyday, sculpted makeup look, ahead. Relax, deep breaths—the process is only four steps.
The Kit
You’ll need your go-to skincare and foundation, a bronzer that is two shades deeper than your skin tone, and a concealer that is one to two shades lighter than your skin tone.
Your bronzer is what you’ll be using to enhance the angles of your face, and when it comes to picking its texture, Holm notes that powders can be more forgiving than creams. “If you’re not familiar with creams, the texture can get muddy on you quickly, and it may not last as long if it’s not set right,” she says. Her go-to: The Buxom Staycation Vibes Primer-Infused Bronzer, which she applies using a dense angled brush. (We like the Sigma Beauty F23 Soft Angle Brush for this.)
On the other hand, a cream product can give skin a fresher look—especially if you have dry skin. “If your skin is dry, you will fall in love with cream bronzers once you see how hydrated your skin looks and feels,” Holm says. Have a wet sponge on-hand (like the Original Beautyblender) to blend this product out.


Once you’ve picked out your sculpting tools, find your highlighting hue. Holm suggests using a concealer that is one to two shades lighter than your skin tone, like the Kosas Revealer Concealer, which has an easy-to-blend, lightweight formula that doesn’t crease.
The Prep
Before picking up a brush, give your skin a quick facial massage, which can help with lymphatic drainage, a.k.a. the draining of static, excess fluids from an area that can cause puffiness. “When massaging my clients face, I like to use a soft relaxing touch while lifting the face in a continuous upward direction to give it a mini lift,” says Holm. If you want an even more luxe experience, wield a face massaging tool like a jade roller or the ReFa CAXA M1, which has four roller balls on one side and a smooth curve on the other to sculpt, massage, and help promote lymphatic drainage.
After massaging your face, apply your foundation as you normally would.
Step 1: Define

Sweep your bronzer onto the parts of your face that you would like to define. Holm says this could be along your hairline, cheekbones, the sides of your nose, and jawline. “The lighter the touch, the better,” she notes. She has a few guidelines for when you’re sculpting these areas:
Hairline: Sweep the product in a back and forth motion along your hairline to build up the color. “As you move to the center of the forehead soften up your touch for a flawless finish,” Holm says. Follow the same technique as you move to the temples.
Cheeks: Slightly smile, and use the apples of your cheek as a guide when angling your brush on your cheeks.
Jawline: Lightly shade under and slightly above the jawline.
Step 2: Find Your Light


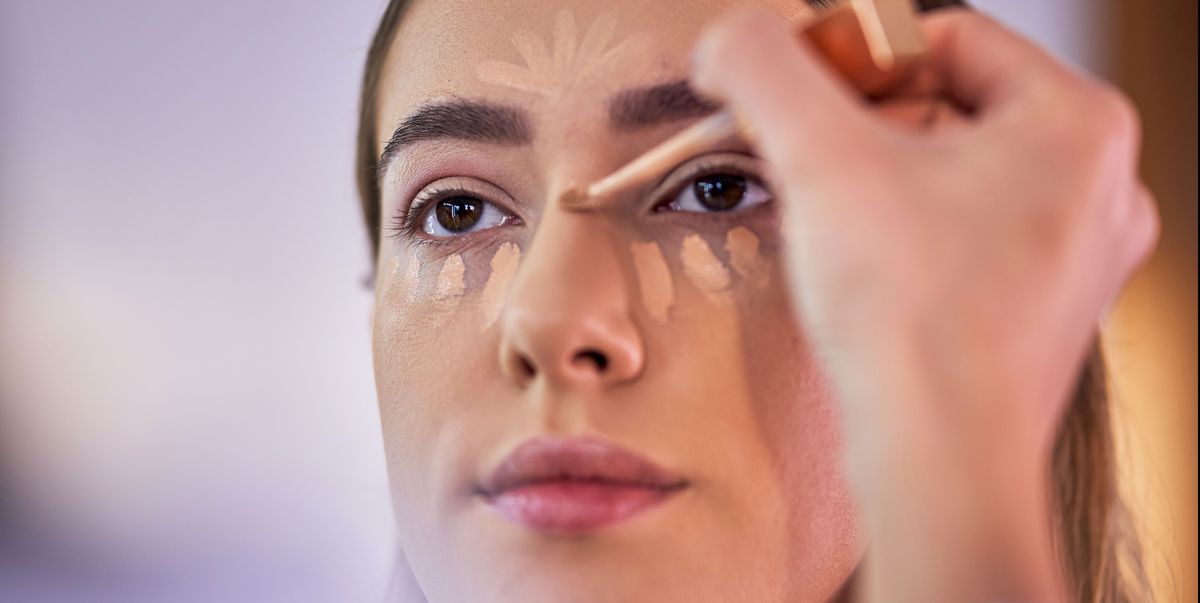
Holm suggests applying a few dots of concealer to the high points of your face, including the bridge of your nose, the center of your forehead, on the tops of your cheekbones, and areas around your mouth (like the corners of your lips and above the cupid’s bow).
Step 3: Blend It Out
Use a wet Beautyblender or dense angled brush to blend out your look. If you’re using the punchy pink sponge, tap it over your makeup in circular motions to melt your makeup into your foundation. If you’re using a brush, sweep it back and forth until your look is even.
This content is imported from {embed-name}. You may be able to find the same content in another format, or you may be able to find more information, at their web site.
Step 4: Lock In Your Look
Holm is partial to using a setting powder and a powder puff to set in a makeup look, but calls out one thing to remember: “Everyone’s skin has different needs,” she says. “Use less setting powder on dry skin, more on oily skin, and a little in between for normal skin.”
This content is created and maintained by a third party, and imported onto this page to help users provide their email addresses. You may be able to find more information about this and similar content at piano.io